
The Mail Settings module allows administrators to configure the mail server that VitXi will use to send emails.
This includes notifications, password recovery messages, and system alerts.
You can choose to use the built-in mail server or configure an external SMTP server for more control and reliability.
1. Access the Mail Settings Module #
- Log in to the VitXi Administrator Panel.
- Navigate to Management → Mail Settings.
2. Mail Server Configuration Options #
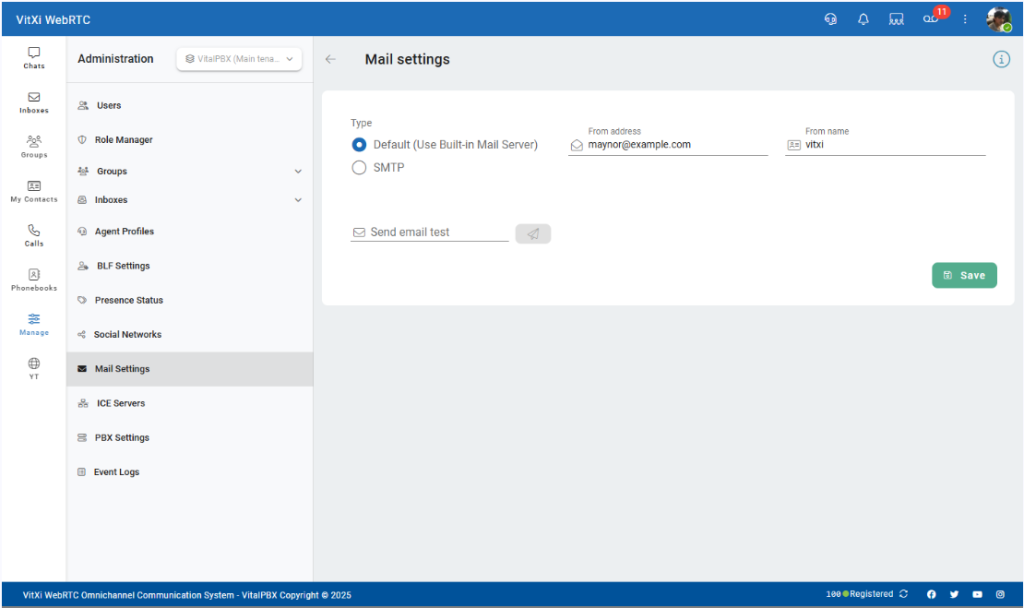
VitXi offers two configuration modes for email delivery:
Option 1: Default (Use Built-in Mail Server) #
Use this mode if you want VitXi to send emails using the internal VitalPBX mail service.
| Field | Description |
|---|---|
| From Address | The email address that will appear as the sender (e.g., [email protected]). |
| From Name | The display name shown as the sender (e.g., VitXi Notifications). |
Tip: Even when using the built-in mail server, make sure your PBX host is configured to relay emails properly through your network or domain.
Option 2: SMTP (External Mail Server) #
This mode allows you to connect VitXi to an external SMTP service, such as Gmail, Microsoft 365, Zoho Mail, or your own mail relay.
| Field | Description |
|---|---|
| Host | SMTP server hostname (e.g., smtp.gmail.com or mail.yourdomain.com). |
| Port | Port used by the SMTP service (commonly 465 for SSL or 587 for TLS). |
| Encryption | Choose between SSL, TLS, or None, depending on your mail provider’s requirements. |
| From Address | The email address that will appear as the sender. |
| From Name | The display name shown in outgoing messages. |
| Authentication | Enable this option if your SMTP server requires login credentials. |
| Username / Password | Enter your SMTP credentials (only visible when authentication is enabled). |


